This guide is to help you install your USB C PCB to replace your dsi/dsixl charging port.
Removing old port
First things first you will need to strip your dsi/dsixl right down to the bare PCB.
I like to add some leaded solder to bring the melting point of the solder down so it easier to remove. After adding the solder use a solder sucker to remove as much of the solder from the 2 anchor points on the top side of the dsi/dsixl PCB as shown below.

Using a hot air solder station apply heat to the anchor points on the port until it drops off the board. If you don’t have a hot air station you can solder a piece of wire across the anchor points and use your soldering iron to heat it up.
installing the NEW port
Flip the board over and line up the 2 holes in the USB C PCB with the 2 pads circled below.
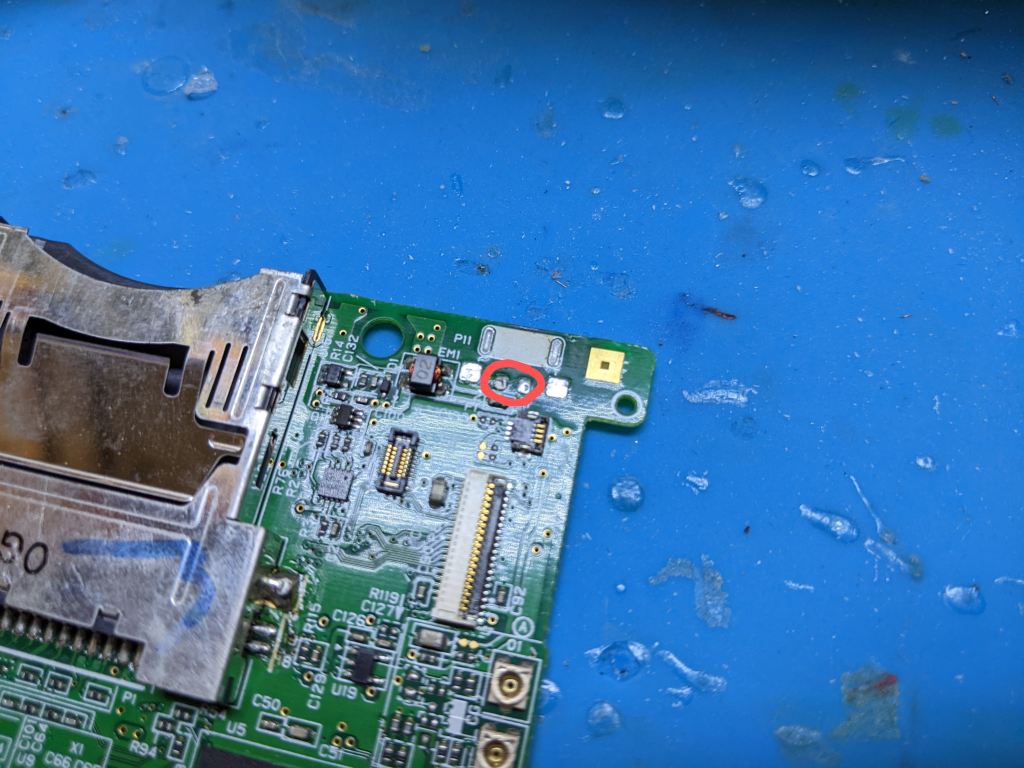
Apply solder to the 2 hole in the PCB and hold down your soldering iron for a few seconds to allow heat to flow down to the 2 pads below it. Flip the board over and apply solder to the 2 anchor points to secure the USB C PCB in place.

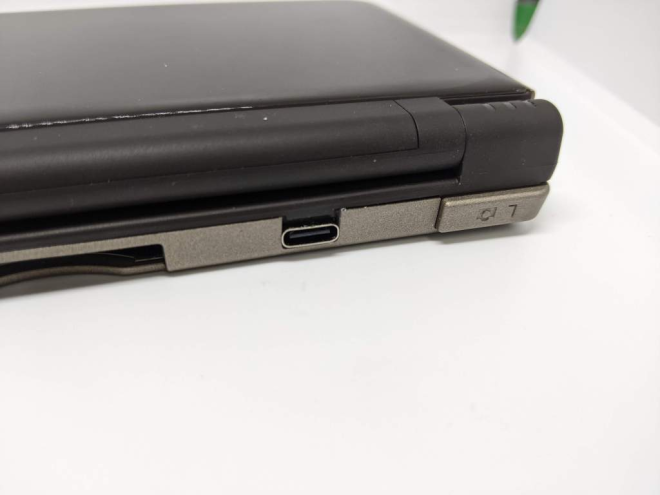
To test your connection out reconnect the power PCB of the dsi/dsixl and connect a USB C cable. The charge LED should flash because we haven’t got the battery hooked up
The shell
No onto the shell, Remove the support of the old port by grabbing it with pliers and twisting it off. Also the hold in the hell will need to be made wider, Use a file and slowly widen it to suit. Below is a photo of a dsixl shell with the dsi you will need to remove some of the screw post.